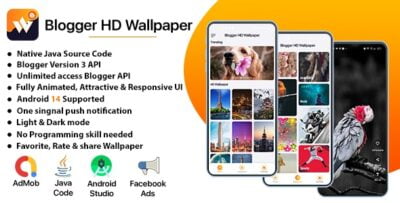
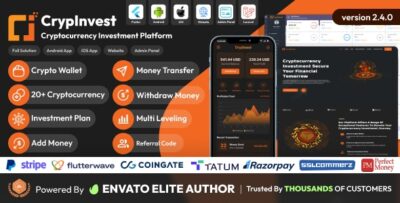
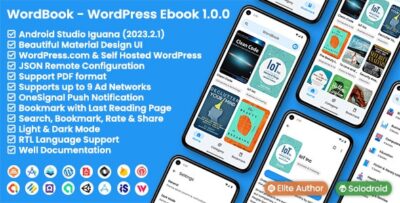
Transform Unlock the potential of your WordPress blog by converting it into a sleek, professional iOS app with our ready-to-use source code. Perfect for bloggers, news websites, and freelancers, this app is designed to enhance content visibility, engage your audience, and maximize ad revenue with AdMob integration.
Transform With a modern UI/UX design, dynamic features, and seamless navigation, your users will enjoy an optimized mobile experience. The clean, well-documented code makes customization effortless, so you can launch your app on the App Store in no time—no coding skills required!
Whether you’re looking to boost traffic, monetize content, or expand your audience, this source code is the ultimate solution for your mobile app needs.
Transforming your WordPress blog into a powerful iOS app without any coding knowledge is easier than you might think. Here’s a step-by-step guide to help you convert your blog into a native iOS app:
1. Choose an App Builder Platform
There are several app builder platforms that allow you to turn your WordPress site into an iOS app without any coding. Some popular options include:
AppPresser: Specializes in creating WordPress-based apps, with features that seamlessly integrate with your blog's content.
MobiLoud: Converts WordPress sites into mobile apps, offering push notifications and offline access.
WPMobile.App: A straightforward tool for creating mobile apps from your WordPress blog.
BuildFire: A drag-and-drop app builder that integrates with WordPress to easily create custom apps.
2. Set Up Your WordPress Blog for App Integration
Before starting the app creation process, ensure that your WordPress blog is well-optimized for mobile viewing. Here are a few things you should do:
Responsive Design: Choose a responsive WordPress theme that looks great on mobile devices.
Install Relevant Plugins: Some platforms, like AppPresser, require specific plugins to work correctly with their app builders.
Set Up Push Notifications: Many app builders allow you to send push notifications directly to your users. Ensure your blog content is ready for this feature.
3. Customize the App Design
Once you’ve chosen an app builder platform, you’ll have access to a user-friendly interface where you can customize the app design:
Logo & Branding: Upload your logo, choose color schemes, and customize the app’s interface to reflect your blog’s style.
Navigation: Customize the navigation bar and categories, so users can easily browse content.
Content Layout: Most platforms allow you to adjust the way posts and pages appear on the app.
4. Test the App
After customizing the design, most app builders offer a preview mode or testing feature. Use this to ensure that everything is working as expected. Test the app on various devices to make sure it looks great and functions smoothly.
5. Publish the App
Once you are happy with the design and functionality, it’s time to publish your app:
Apple Developer Account: You’ll need an Apple Developer account ($99/year) to publish your app to the App Store.
App Submission: Follow the platform’s instructions for submitting your app to the App Store. This process typically involves uploading your app, setting up metadata (app description, keywords, etc.), and awaiting approval.
6. Monetize and Engage Your Users
Once your app is live, you can monetize it and keep your users engaged with features such as:
In-App Purchases: Sell digital products or subscriptions.
Push Notifications: Send updates and new content alerts to keep users engaged.
Analytics: Track user behavior and app performance using built-in analytics tools.
7. Maintain Your App
Updating your blog posts on WordPress will automatically sync with your app, but you’ll need to periodically update your app itself. Some platforms offer easy update processes, while others may require resubmission to the App Store.
Conclusion
Turning your WordPress blog into an iOS app without coding is entirely possible using the right app builder platform. With a bit of customization, testing, and optimization, you can reach a wider audience and offer a native experience for your users. Keep your app updated and engaged to ensure continued success in the app market.
(Only For Premium Category Products !)
1. All digital products are the most recent version, with no possibility of free updates. After payment, you can request an update to the most recent version for 5 days if a new version is released. We free support within 5 days.
2. If a license is required (Excludes WHMCS license , we provide only method not license), please contact us via email or ticket for assistance with activation. Our license is only valid for activation and does not include support.
3. We provide Mobile, PHP script installation services for $19.90 / ₹1700. Please create a backup after installation as we do not support re-installation. For mobile app source code, we do not offer installation services.
5. Please note that any digital products presented on the website do not contain malicious code, viruses or advertising. You will receive the original files from the developers. We do not sell any products that have been downloaded from other websites.
6. The response time can last up to 6 hours.
(Only For Membership Category Products !)
Benefits of our Membership Plans
Instant access to all plugins and all themes including all future releases
Unlimited domain usage
Regular Updates as of when available. Usually, updates are released daily.
If you have any questions, please first read the FAQs.
If you haven’t found the answer to your question, please contact us, and we will respond ASAP.
Please note that any digital products on the website do not contain malicious code, viruses, or advertising. We buy the original files from the developers. We do not sell any products downloaded from other sites.
Buy or download for FREE by subscribing to our VIP Membership Plan. Join the club of more than 1100+ happy members. This is the same theme as sold by the developer.
Updates:
We offer frequent updates for one year from the date of purchase. After this period, you have to purchase the item again to receive further updates, we also offer lifetime updates as a second option.
We regularly update products as soon as we are notified about an update, we go and download it from the author and update it on our site, but In case the current version of the product is not the latest, You can request an update for the product by contact form.
We send regular emails advising when products have been updated so please be sure to provide an active email address when you sign up.
Support:
Our support team is available 24/7, if you have any questions or need help in installing or configuring digital products purchased on the website, please don’t hesitate to contact form.
Please note that we are not developers of the provided products, so our technical support capabilities are limited. We do not change product functionality and do not fix developer bugs.
If you have any questions, please first read the FAQs.
If you haven’t found the answer to your question, please contact us, and we will respond ASAP.
Please note that any digital products on the website do not contain malicious code, viruses, or advertising. We buy the original files from the developers. We do not sell any products downloaded from other sites.